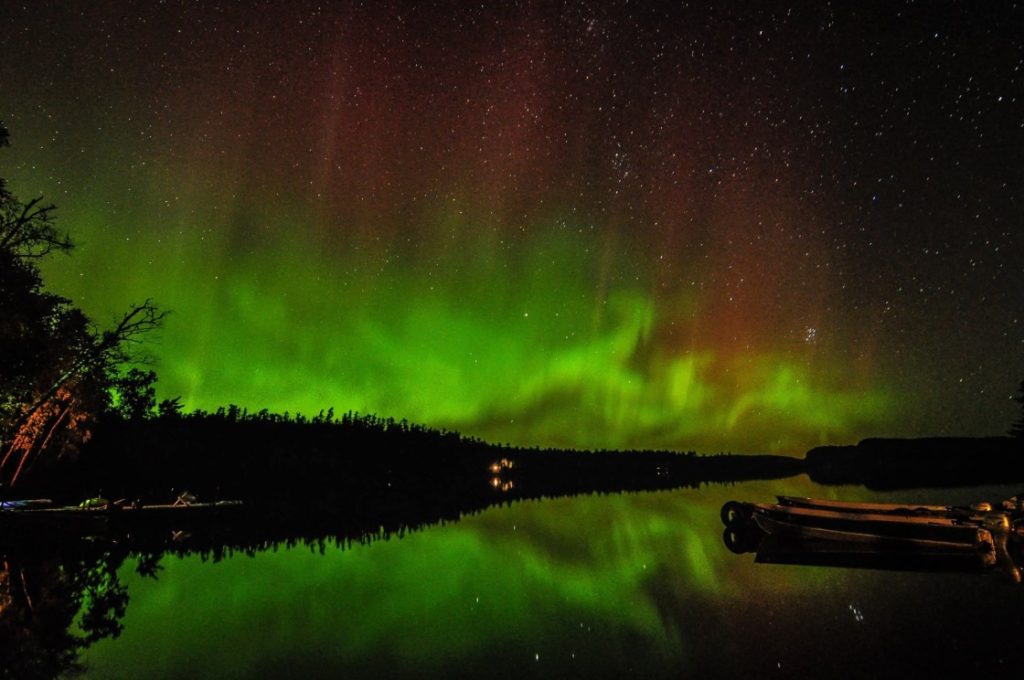
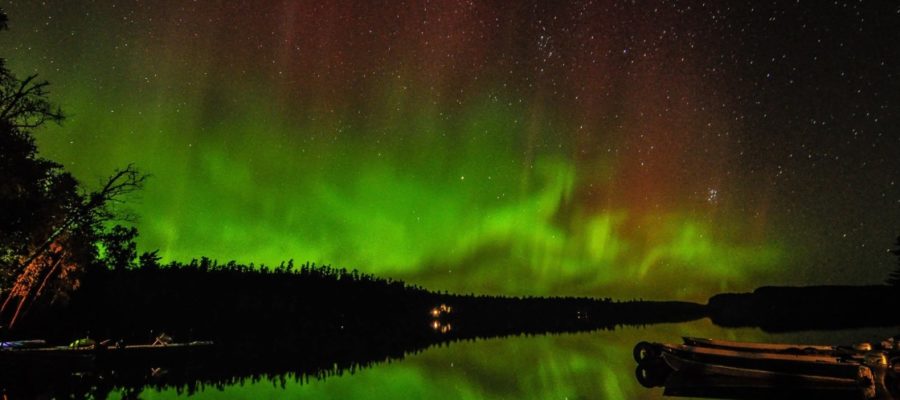
The aurora borealis are one of natures most spectacularly awesome sights, and people are always trying to capture them on film. We have talked about the fickle nature of the phenomenon in the past (The Northern Lights and Your Chances of Seeing Them) and how getting to see them is essentially like winning natures lottery. So many things need to line up in your favor to even give you the chance at seeing them that when they do appear it can be overwhelming. Just as soon as they appear they will vanish so being as prepared as possible in advance of their potential display will greatly improve your chances of photographing them. There is something to be said about quietly sitting and watching the lights dance in the northern sky in awe, but if you’re looking to capture them on film these are some of the things to consider in advance.
Convenience vs. Quality
It can not be overstated how incredibly fast the advancement of camera technology has occurred over the past 30 years; from film to digital, and from bulky to slim and paired with your phone. I can still remember being amazed at the first digital camera I held in my hands 20 years ago and the tiny postage stamp size screen that displayed the picture that I just took. The only thing I had known up to that point was film, and the inherent waiting that was require to get it developed. I don’t even know if you could giveaway a 20-year-old digital camera today, but at the time it was a technological marvel. The cameras you find in your phone have been improving every year, but even with all this advancement there is still nothing that beats a single-lens reflex camera or SLR camera in terms of image quality and flexibility; specifically, a digital SLR camera. Don’t get me wrong, being able to pull a device from my pocket, slide my finger twice across the screen and take a photo that will be of moderately high quality is an incredible convenience. There is a time and a place for this kind of quick and convenient photography and more and more people are choosing this method which is totally fine in most situations. For a number of reasons, the one situation where the difference between handheld device cameras and DSLR cameras is most glaring is night time photography of the northern lights. The other situation where the gap still remains between these two kinds of cameras is high quality zoom photography of moving objects. With all of this in mind lets look at what it takes to produce sharp, vibrant images of the northern lights.
Camera and Equipment
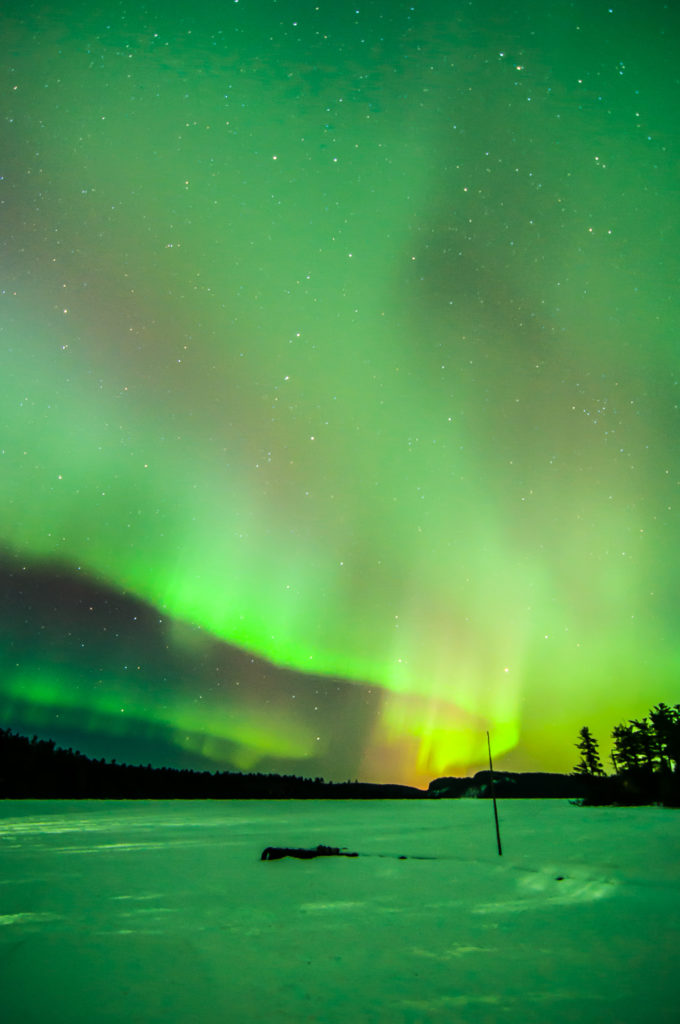
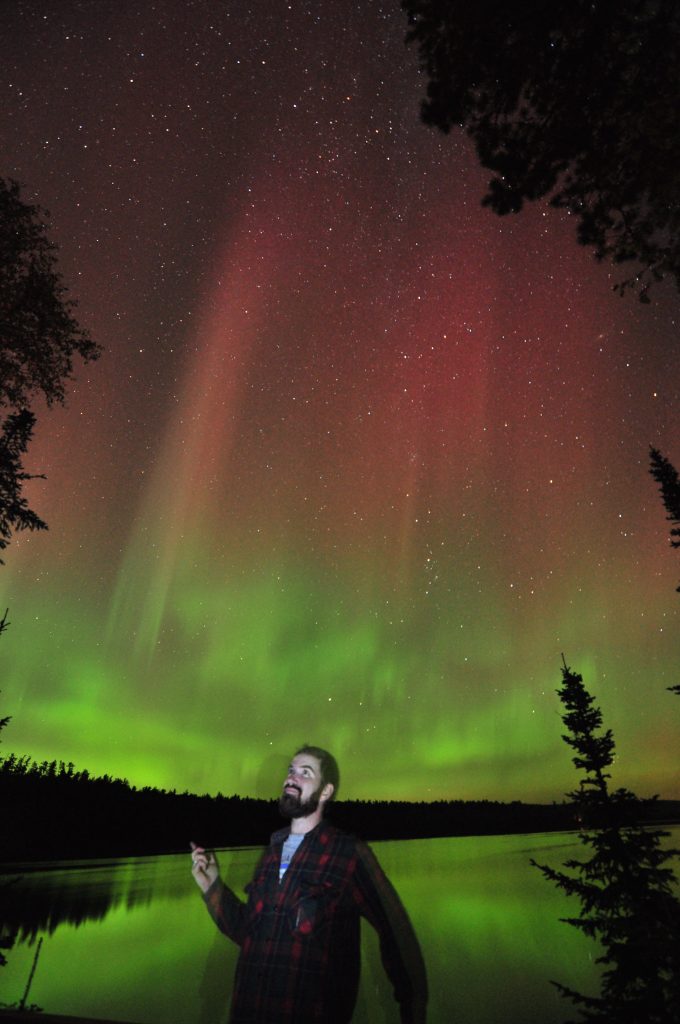
The biggest reason the aforementioned gap exists between convenience and DSLR cameras is the option of attaching a tripod. Most phones cannot be easily connected to a tripod while every DSLR camera comes with a jack for connecting to any kind of tripod imaginable. In hopes of not stating the obvious too much here the reason the tripod is so important to capturing crisp images of the night sky is that it holds the camera still. We will go into this further later on when we discuss settings but a camera taking pictures of the night sky needs to be held as still as possible because the shutter is held open for multiple seconds to capture more light. There is no way to hold a camera still enough with your bare hands to capture anything in the night sky besides blurry star trails or green blobs. Sure, you can maybe prop your camera on the hood of a car or angle it up to the sky with a rock, but the flexibility and safety you get with a tripod is unbeatable. Being able to move a camera pointed in any direction you want and then lock it in place will allow you much more potential to capture the night sky as you see fit. The other biggest difference between the two cameras in discussion is the ability to change lenses on the DSLR style camera body and in the case of the northern lights your looking at wide angle lenses. The wide angle lens is the best way to capture the most sky, which is ideally what your trying to do in the event of an aurora borealis show. In my opinion the biggest reason why people say “pictures don’t do it justice” when talking about their northern lights photography is because they are shooting with 18-35mm lenses (your typical stock lens that comes with your camera) and this is not wide enough to capture what is typically a display that takes up large portions of the sky. A wide angle lens is going to allow you to shoot anywhere from 9-18mm and allow a much greater field of view to be captured, which is exactly what you want when the lights stretch the length of the horizon and rise to heights into the sky that can be directly overhead. Though not necessarily needed getting a wireless remote for your camera can be nice if you want to try to capture yourself in the image with out setting a timer and running into position. Long exposure times and typically colder temperatures that accompany the lights means your battery will drain faster so it is a good idea to have spares. The last thing to consider would be a head lamp or flashlight, not just for navigating in the dark but for experimenting with “light painting” which can allow you to capture not just the lights but structures, people or landscapes in color as well. Now that you have your DSLR camera with a wide angle lens attached to a sturdy tripod pointed towards the northern sky what’s next?
Settings
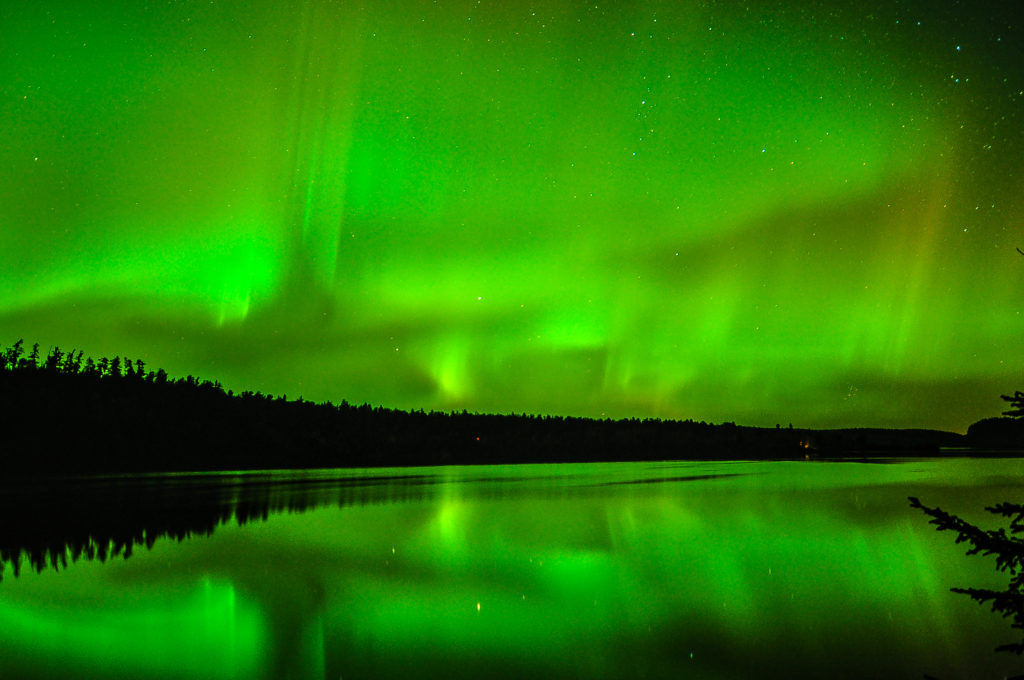
In the light of day, I like to think of the settings on my camera as numbers in an equation with the end result or answer being the image itself. Each one of the settings affects the other and what their values end up being depends on what you’re trying to capture and how you want it to look. When combined with changing lenses, filters and where you point the viewfinder there are an almost endless number of equations that can be input to produce a photo that you think best represents what you’re seeing. It’s playing with this equation to produce a unique image that makes photography one of my favorite hobbies. At night the equation gets severely limited, meaning you only have so much to play with if you are looking to produce a quality image. Let’s look at the settings and how they can be best applied to shooting the northern lights.
ISO
Let us start with the most complicated of settings: ISO. The international Organization for Standardization is just what it sounds like, a body that creates the guidelines and requirements to be used consistently to ensure that materials and products are the same for everybody. Their story and how it came to be that it is one of the key settings on camera is a story for another day, all that matters here is that you know it essentially means sensitivity to light. Before cameras were digitized film was measure by its sensitivity to light, or ISO, meaning that you really had to think about what kind of film to put in your camera knowing that it could not be changed until you used up the roll. One of the greatest improvements to cameras throughout the digital transition has been the ability to change your ISO on the fly, saving everybody time and money. The scale of sensitivity varies slightly at the extreme high and low ends these days depending on which camera brand you are shooting with but generally speaking the lower the ISO the less sensitive and the higher the number the more sensitive with 100 ISO being a very low sensitivity and 10,000 being very high. In other words, the lower the ISO the longer it takes for the light of the world to make an impression on your film (or these days your sensor) meaning if you’re shooting at too low of an ISO it can be easy to end up with a blurry image. At this point it might seem easy to think that shooting at a high ISO at all times would be common sense, but shooting at too high of sensitivity will lead to very grainy and noisy images and blown out pixels. The rule of thumb for setting ISO for me is to set it as low as possible while still maintaining a crisp image and during the day this is between 200-1000 and at night between 600-1600.
Shutter Speed
Also known as exposure time this is the setting on your camera that adjusts how long you are going to allow light to be exposed to your film or sensor. Appropriately it is measured in time and depending on your camera it can be as fast as 1/8000 of a second to as long as minutes at a time. Anytime you’re trying to capture something that is moving as crisply as possible you’ll want this to be as set as fast as possible. When taking pictures of still landscapes during the day light shutter speed should be set as low as it can be while still maintaining sharpness. There is a balance that needs to be struck when thinking about how long to keep you shutter open for when trying to best capture the aurora. On one hand you need to keep it open long enough to actually capture the light but not too long that the stars start to move across the sky and appear blurry. While star trail photography is an entirely different topic and equation of the night when it comes to the northern lights you are looking for pin-prick sharp stars. Again knowing that all of these settings play off each other a shutter speed of anywhere between 10-30 seconds is what you’re looking for to best capture the lights.
Aperture
The aperture or f-number setting on your camera is actually a ratio of the focal length to the diameter of the pupil entrance, in other words it’s the size of the opening that allows light into your camera. Depending on your lens this number will range anywhere from 1.4 to 36. Because it is a ratio and just to make things more confusing the lower numbers represent a larger opening and the higher number represent a smaller opening. As an example f/1.4 is about the size of a quarter and f/36 would be roughly this size of the tip of a ball point pen. This is an easy concept because we have seen it in action every time we look in the mirror after opening our eyes and watch our pupils quickly constrict to adjust for the change in light. We have no control over our pupils but you do have control over the pupil of your camera. While adjusting the aperture can make for some of the most dramatic differences from one picture to the next with regards to your depth of field during the daylight it really only has one setting for the night time: as wide open as possible. Without getting too carried away on depth of field and focal length generally speaking during the day the lower the aperture the sharper a smaller amount of your image will be with more out of focus around it. The higher the aperture will produce an image with more in focus and a generally sharper image. At night with the aurora you’re essentially focusing on infinity and won’t notice anything that is out of focus, you’ll only be letting in more light, so turn that f-number as low as your lens will allow. Doing this will allow you to set your ISO lower which is essentially the goal of night time photography.
Putting it All Together
Before we get to the equation that I have found works best for me most of the time there are couple of other things to consider. In the process of getting set up for a night of night sky photography remember to set your focus manually to infinity and then turn off auto focus. No matter how hard your camera tried to find something to focus on the night sky it never will, so just set it at infinity and be done with it. In choosing a place to set up for northern lights photography it should go without saying you should find a place where you can see to the north, but besides that look for “big sky”. The best place to find these places in the Boundary Waters is on the south shore of a large lake, but there are number of excellent overlooks on the Gunflint Trail that make for good spots, including Honeymoon Bluff.
So hopefully you’ve read previously about just how fortunate you should feel if given the opportunity to photograph the aurora borealis based on all of the factors involved that are out of your control. If and when they show up, you now have a number of things you can control to capture the experience. You have the infrastructure equation set: a DSLR camera with a wide angle lens sitting atop a sturdy tripod with spare batteries and a headlamp nearby. With slight variation in any setting you more or less have your settings equation set: ISO-800, shutter speed-15 seconds, aperture-as low as it will go, and focus set to infinity. This is a starting point and any of those settings can be played with to produce different styles of capturing the lights.
Good Luck!

Leave a Reply
Your email is safe with us.
You must be logged in to post a comment.